Guides / Plan the deck
How to board a loft without squashing insulation
Plan a raised loft storage deck around structure, 270 mm insulation, ventilation, services and safe access.
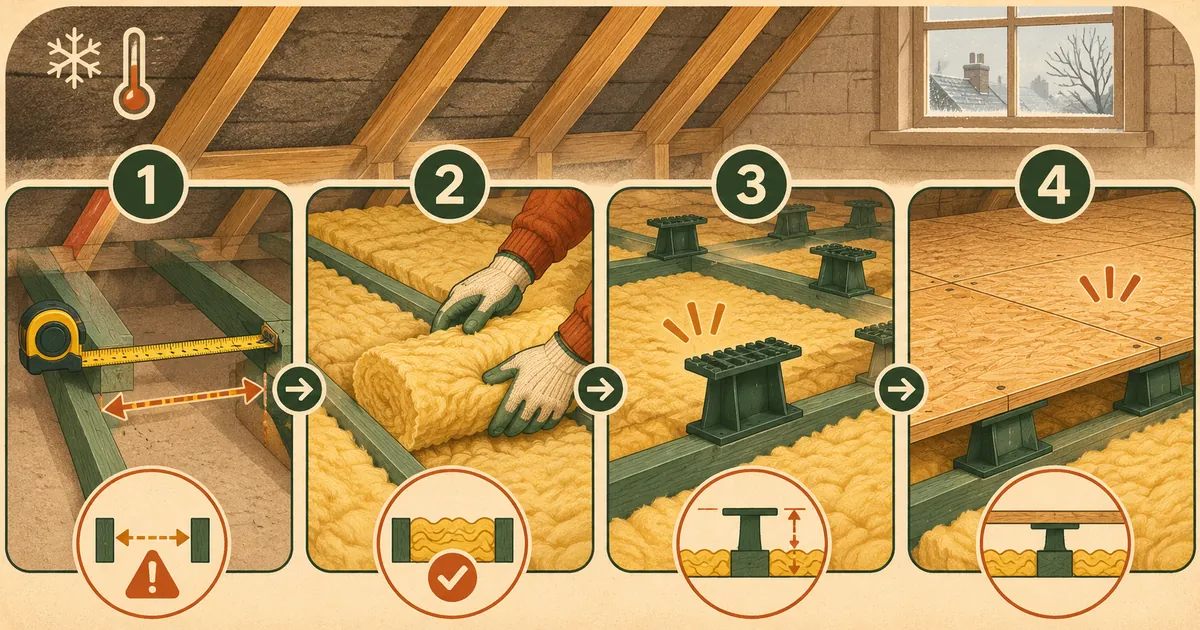
Board a loft as a lightweight storage project, not as a shortcut to a room. The safe sequence is inspect, measure, design the insulation and ventilation, choose a compatible raised system, mark services, install to the manual and load lightly. Never cut trusses to make space.
1. Stop for defects and protected hazards
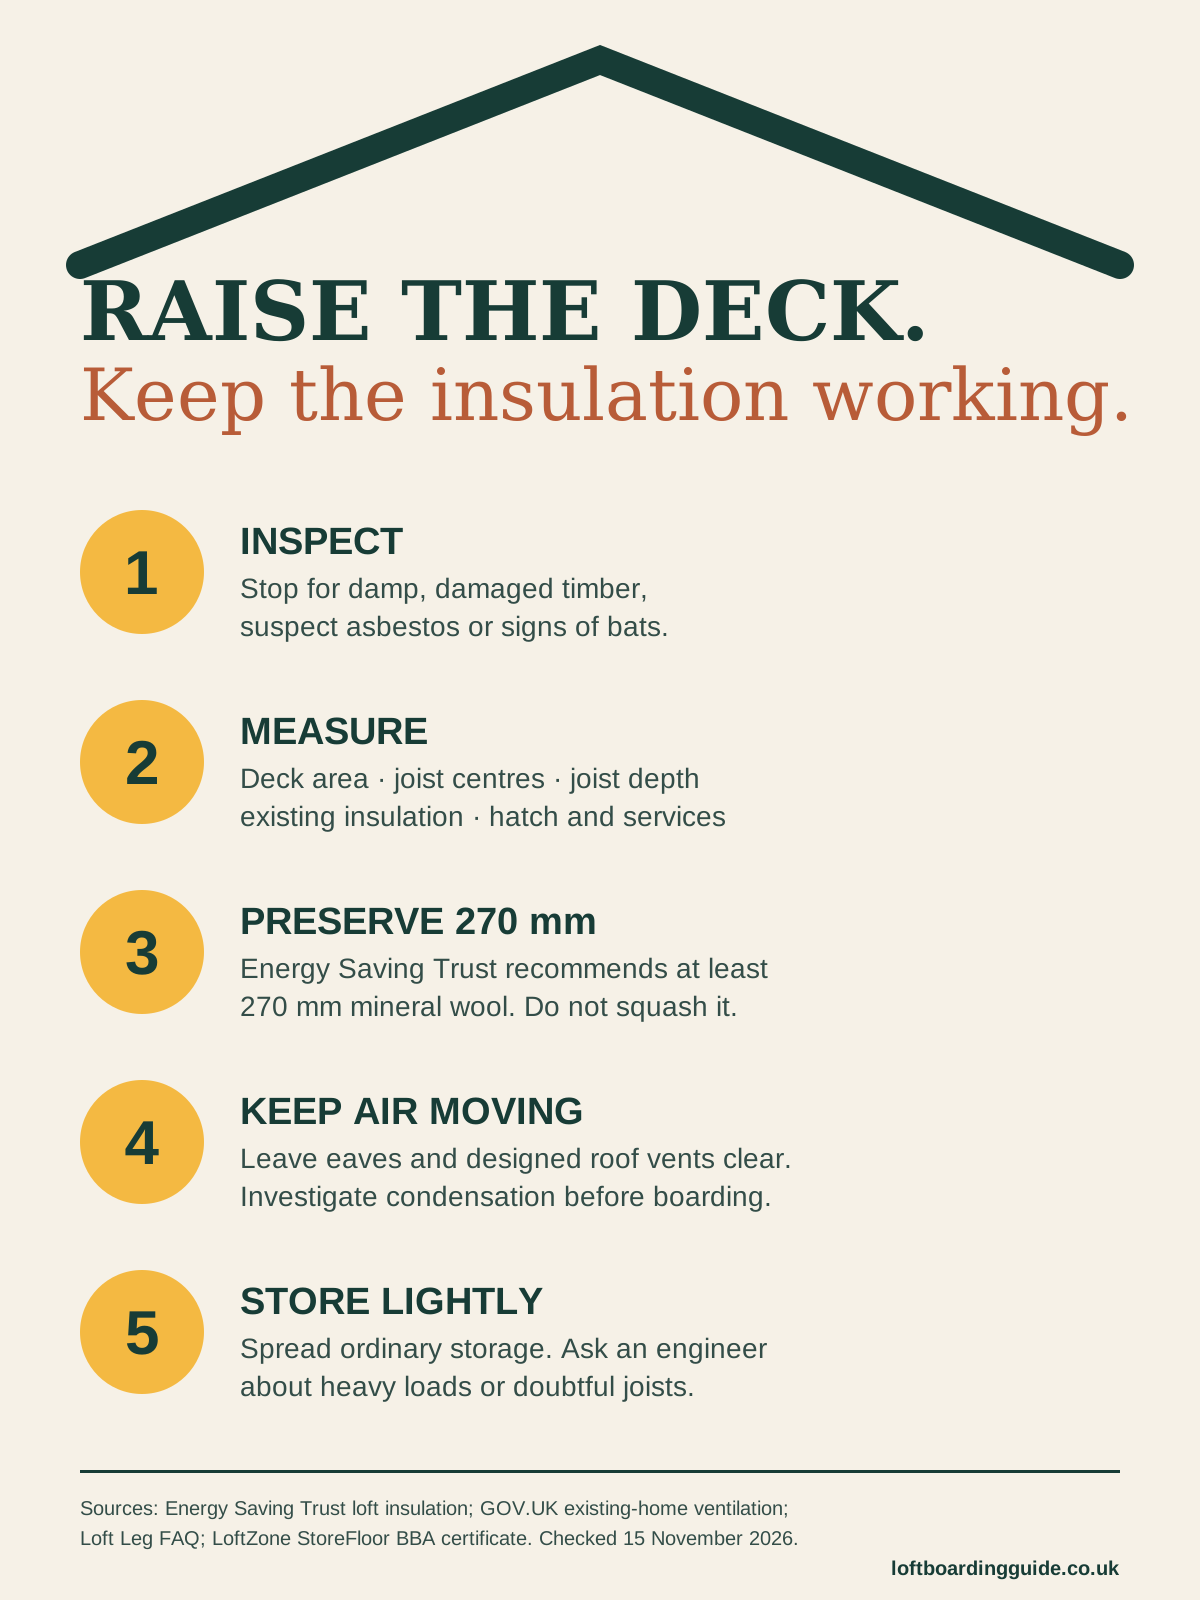
Before buying boards, inspect from a safe position. Water staining, mould, soft timber, cracked members, loose electrical equipment, suspect loose-fill insulation or evidence of bats changes the job. Do not disturb suspect asbestos. If bats or a roost may be present, stop and obtain the appropriate nature-conservation advice.
Confirm that the loft is a cold roof insulated at ceiling level. A warm roof, room-in-roof or spray-foam system needs a different assessment. This guide does not cover conversions.
2. Measure the proposed deck
Choose a compact rectangle with useful headroom and a clear route from the hatch. Measure its length and width, joist centre spacing, joist depth, current insulation depth and obstructions. Sketch truss webs, binders, tanks, pipes, cables and ventilation openings.
Plan access to services. Removable, labelled panels may be needed, but only if the board system permits them. Do not bury electrical junctions or valves.
3. Set the insulation build-up
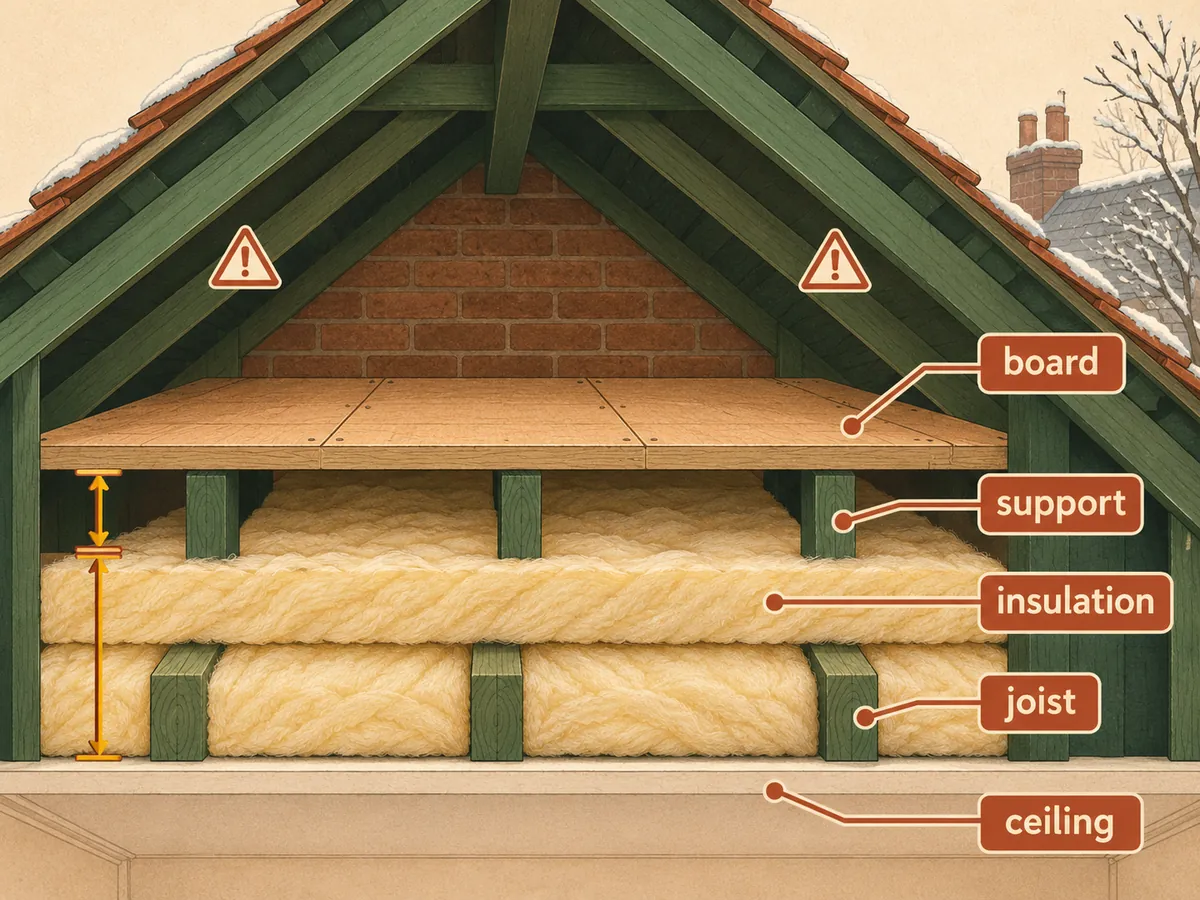
Energy Saving Trust recommends at least 270 mm of mineral wool. A common arrangement is 100 mm between joists and 170 mm across, but the real joist depth and product data decide the layers. Insulation should remain at its intended thickness.
The Planning Portal says care is needed not to block eaves ventilation. Keep a clear air path according to the roof design. Do not push mineral wool hard against the underlay.
4. Choose the raised system
Subtract joist depth from intended insulation depth to find the minimum geometric rise above the joist. A 100 mm joist and 270 mm total require about 170 mm above the top, which aligns with a 175 mm standard leg. Shallower joists or deeper insulation require more height.
Use one complete, documented system. Individual legs and rail-based systems have different layouts, screws and approved boards. Follow the current manual. Do not stack legs or improvise packers.
5. Calculate boards and supports
Divide the deck area by the laid area of one board and add a realistic cutting allowance. Then lay out actual rows so every short-end joint is supported. Area arithmetic alone cannot reveal a joint over a void.
Use the maker's support count and spacing. LoftZone's BBA certificate, for example, limits cross-beam span and spacing in that system. Loft Leg publishes separate fitting layouts. The loft boarding calculator is an estimate, not a replacement for either manual.
6. Create safe temporary access
Ceiling plasterboard will not support a person. Use suitable temporary crawling boards spanning sound joists and maintain three points of contact at the ladder. Improve lighting before the main work. Keep the hatch opening guarded and the area below clear.
Move packs in small quantities and spread their weight. Do not stack all boards and boxes in one bay. Cut outside where practical and use the protective equipment specified for the boards and insulation.
7. Mark services and fixings
Mark cable and pipe routes on the joists and transfer useful locations to a plan. Use only the screws specified by the support and board makers. Excessively long screws can hit hidden services; nails add hammer shock to the ceiling below.
Electrical cables surrounded by insulation may need assessment because their ability to lose heat changes. Ask a registered electrician where routes are unclear or a circuit is altered.
8. Install and inspect
Fix supports to the correct joist positions, checking alignment and height. Add rails if the system uses them. Lay insulation continuously without compression, maintaining ventilation. Fix boards in the required direction, support every specified joint and keep screw heads flush.
At the hatch, provide a clear, stable transition and prevent a person stepping onto unsupported insulation. Do not create a loose step from offcuts. Keep the ladder mechanism free and install any guard or handhold required by the access design.
9. Label and load lightly
Label service access and the date of installation. Store light, infrequently used items in lidded containers and distribute them. Keep the route clear. Heavy books, building materials, dense archives, gym equipment and water storage need structural advice.
Inspect after the first cold spell and periodically thereafter. Look for condensation, damp, loose boards, damaged insulation and blocked vents. A musty smell or new staining is a reason to empty the area and investigate.
Permission and scope
Internal loft insulation is likely permitted development in England, but circumstances vary; check with your council if in doubt. Scotland, Wales and Northern Ireland have different systems. Building Regulations and listed-building controls may apply to insulation, structural alterations, electrical work or a changed hatch.
A loft conversion is a different project requiring building-control design for structure, fire safety, stairs and more. Ordinary raised storage boarding must never be presented as a habitable floor.
Before calling the job complete, compare the finished deck with the original drawing. Count support lines, inspect every visible board edge and confirm the insulation is still loose at full depth. Photograph the open eaves, service labels and hatch transition. Then remove surplus packs and tools so the first load placed on the deck is the intended light storage, not leftover building materials concentrated in one bay.